



Sourdough


What is sourdough?
A sourdough is made from two ingredients: water and flour. When you start it up and mix water with flour, a chemical process takes place, which is kick-started by lactic acid bacteria. These lactic acid bacteria are found naturally in flour, in the air and on our skin (which is why we recommend, for example, that you stir the dough with your fingers). In flour, there are also some enzymes that convert starch into sugar. When the lactic acid bacteria start to "eat" the sugar, the result is lactic acid, yeast cells, acetic acid and bacteria. It is the lactic acid that makes your sourdough bread smell and taste sour. Meanwhile, the yeast cells make your sourdough bread rise. In addition, the sourdough also has a preservative effect on the bread. This way, your bread will stay fresh and juicy for longer. Sourdough can be made from both wheat flour and rye flour. Here at home we have two different sourdoughs: A basic sourdough for buns and wheat bread, which consists of half rye, half wheat (as it gives a slightly better rising ability). And a rye sourdough of 100% rye, which we use for rye bread and farmer's bread (as it gives an extra sour taste). However, you can easily use a rye sourdough for baking buns and a basic sourdough for rye bread.
TIP: If you don't have the courage to bake with sourdough yet, you can try these cold-risen buns baked with yeast. They have the same airy, juicy texture as sourdough buns.

How do you start sourdough?
It takes about 5-6 days to start a sourdough. When the flour and water are first mixed, it begins to develop just as quietly. However, you must continuously ensure that the sourdough does not become too acetic and "hungry", and therefore it must be fed. When the sourdough is continuously fed and allowed to take care of itself, it will be ready for you to use it for your baking projects.
How to make a basic sourdough
For a basic sourdough, use half wheat and half rye flour. Always use organic flour - it should probably have a good effect on the sourdough too (win-win!). In addition, you should use rye flour that is not finely sifted. We want the bran and germ to be included, because that adds even more nutrition.
How to make your own rye sourdough
Feel free to make your rye sourdough from 100% rye flour. It is more acidic, which is good for rye bread, both because it gives a good taste, but also because it ensures that the bread will not be nearly as sticky in texture.
TIP: Also try the best walnut bread with sourdough and Åland wheat flour


When is sourdough ready for baking?
If you have a good, active sourdough that can rise 50% in 4-6 hours when fed in a 1:1:1 ratio (sourdough:flour:water), you know it can be used in your baked goods. You use your sourdough to make a young sourdough (also called a fore-dough), which is what is stirred into the dough itself. A young sourdough is made from the old sourdough, flour and water. So it works exactly like a feeding, but the amount of young sourdough and which types of flour you need to use vary, depending on what kind of bread you want to bake. However, this is almost always described in the recipe you follow. In the recipe for sourdough bread You can find the recipe for two different young sourdoughs. One is ready in 2-4 hours and the other in 8-10 hours. That way you can time the feeding of your sourdough according to when you are ready to mix the dough.
Recipe for young sourdough/pre-dough
If you do not have the exact quantities, you can mix the young sourdough in a ratio of 1:1:1. To this sourdough bread recipe you need 200 g sourdough. Here you use 80 g sourdough, 80 g water and 80 g flour (e.g. a mixture of 60 g wheat flour and 20 g wholemeal flour).This gives you 240 g of young sourdough. 200 g for the dough and 40 g that you can feed and store in the fridge. In this rye bread recipe you use 100 g of young sourdough. Therefore, you mix 50 g of old sourdough, 50 g of rye flour and 50 g of water to get 150 g of young/ready-to-bake rye sourdough. You use the 100 g in the bread. You feed the remaining 50 g, after which you store them in the refrigerator, so you have enough for your next baking project.
How to know when the sourdough is ready
You need to use your young sourdough when it "peaks". That is, when it has risen to double its size. This can take between 3-6 hours. It is ready for baking just before it reaches its highest point. That is, before it starts to collapse again. Once it has collapsed, you cannot use it to give baking power to your bread. Then you need to make a new feeding and wait for it to rise to its highest point.
Sourdough test
When you need to know if it is ready for baking, you can do the following tests:
- Lifting test: Check that it can rise to double its size in 4-6 hours after a feeding.
- Float test: When it has risen to its highest point, you can test whether it has good baking properties by putting a spoonful of sourdough in a glass of water. If the sourdough floats to the surface, it is ready for baking.
TIP: Use your sourdough to bake the recipe for Delicious chocolate rye with dark chocolate and dates.

How do you store and care for your sourdough?
How you store and care for your sourdough depends on how often you want to bake and what fits into your everyday life.
Feeding
You can save the leftovers from the young sourdough and feed them further. You should always feed with equal parts flour and water in grams. The more flour and water you feed in relation to the sourdough, the longer it will take for the sourdough to become active. But even if you only have 5 g leftovers, you can feed with, for example, 100 grams of flour and 100 grams, and then after about 24 hours you will have 205 g of active sourdough. Feed your sourdough so that you have about 150 g in stock. Therefore, if you have 20 g of sourdough left after baking, you will feed with 65 g of water and 65 g of flour.
Storage on the kitchen counter
If you bake often and have the time and energy to care for and nurture your sourdough, you can have it standing on the kitchen counter at all times. Here it must be fed EVERY day. This ensures that your sourdough is always in top shape, and it clearly produces the most delicious bread.
Storage in the refrigerator
Few people have the time and energy (and baking projects) to feed their sourdough every day. That's why you can store it in the refrigerator. When you have fed your leftovers after baking, leave it until it has risen by 50%. You can then put a loose lid on it (the sourdough should be able to breathe a little) and put it in the refrigerator. In the refrigerator, the sourdough can survive by only being fed once a week. It's really good if you use it to bake at once on the weekend, for example, and it will freshen up there. If you forget to feed it for a week, it can easily survive - just take it out on the kitchen counter and feed it daily for 2-3 days, and it will come back to life.
How to prepare your sourdough for baking
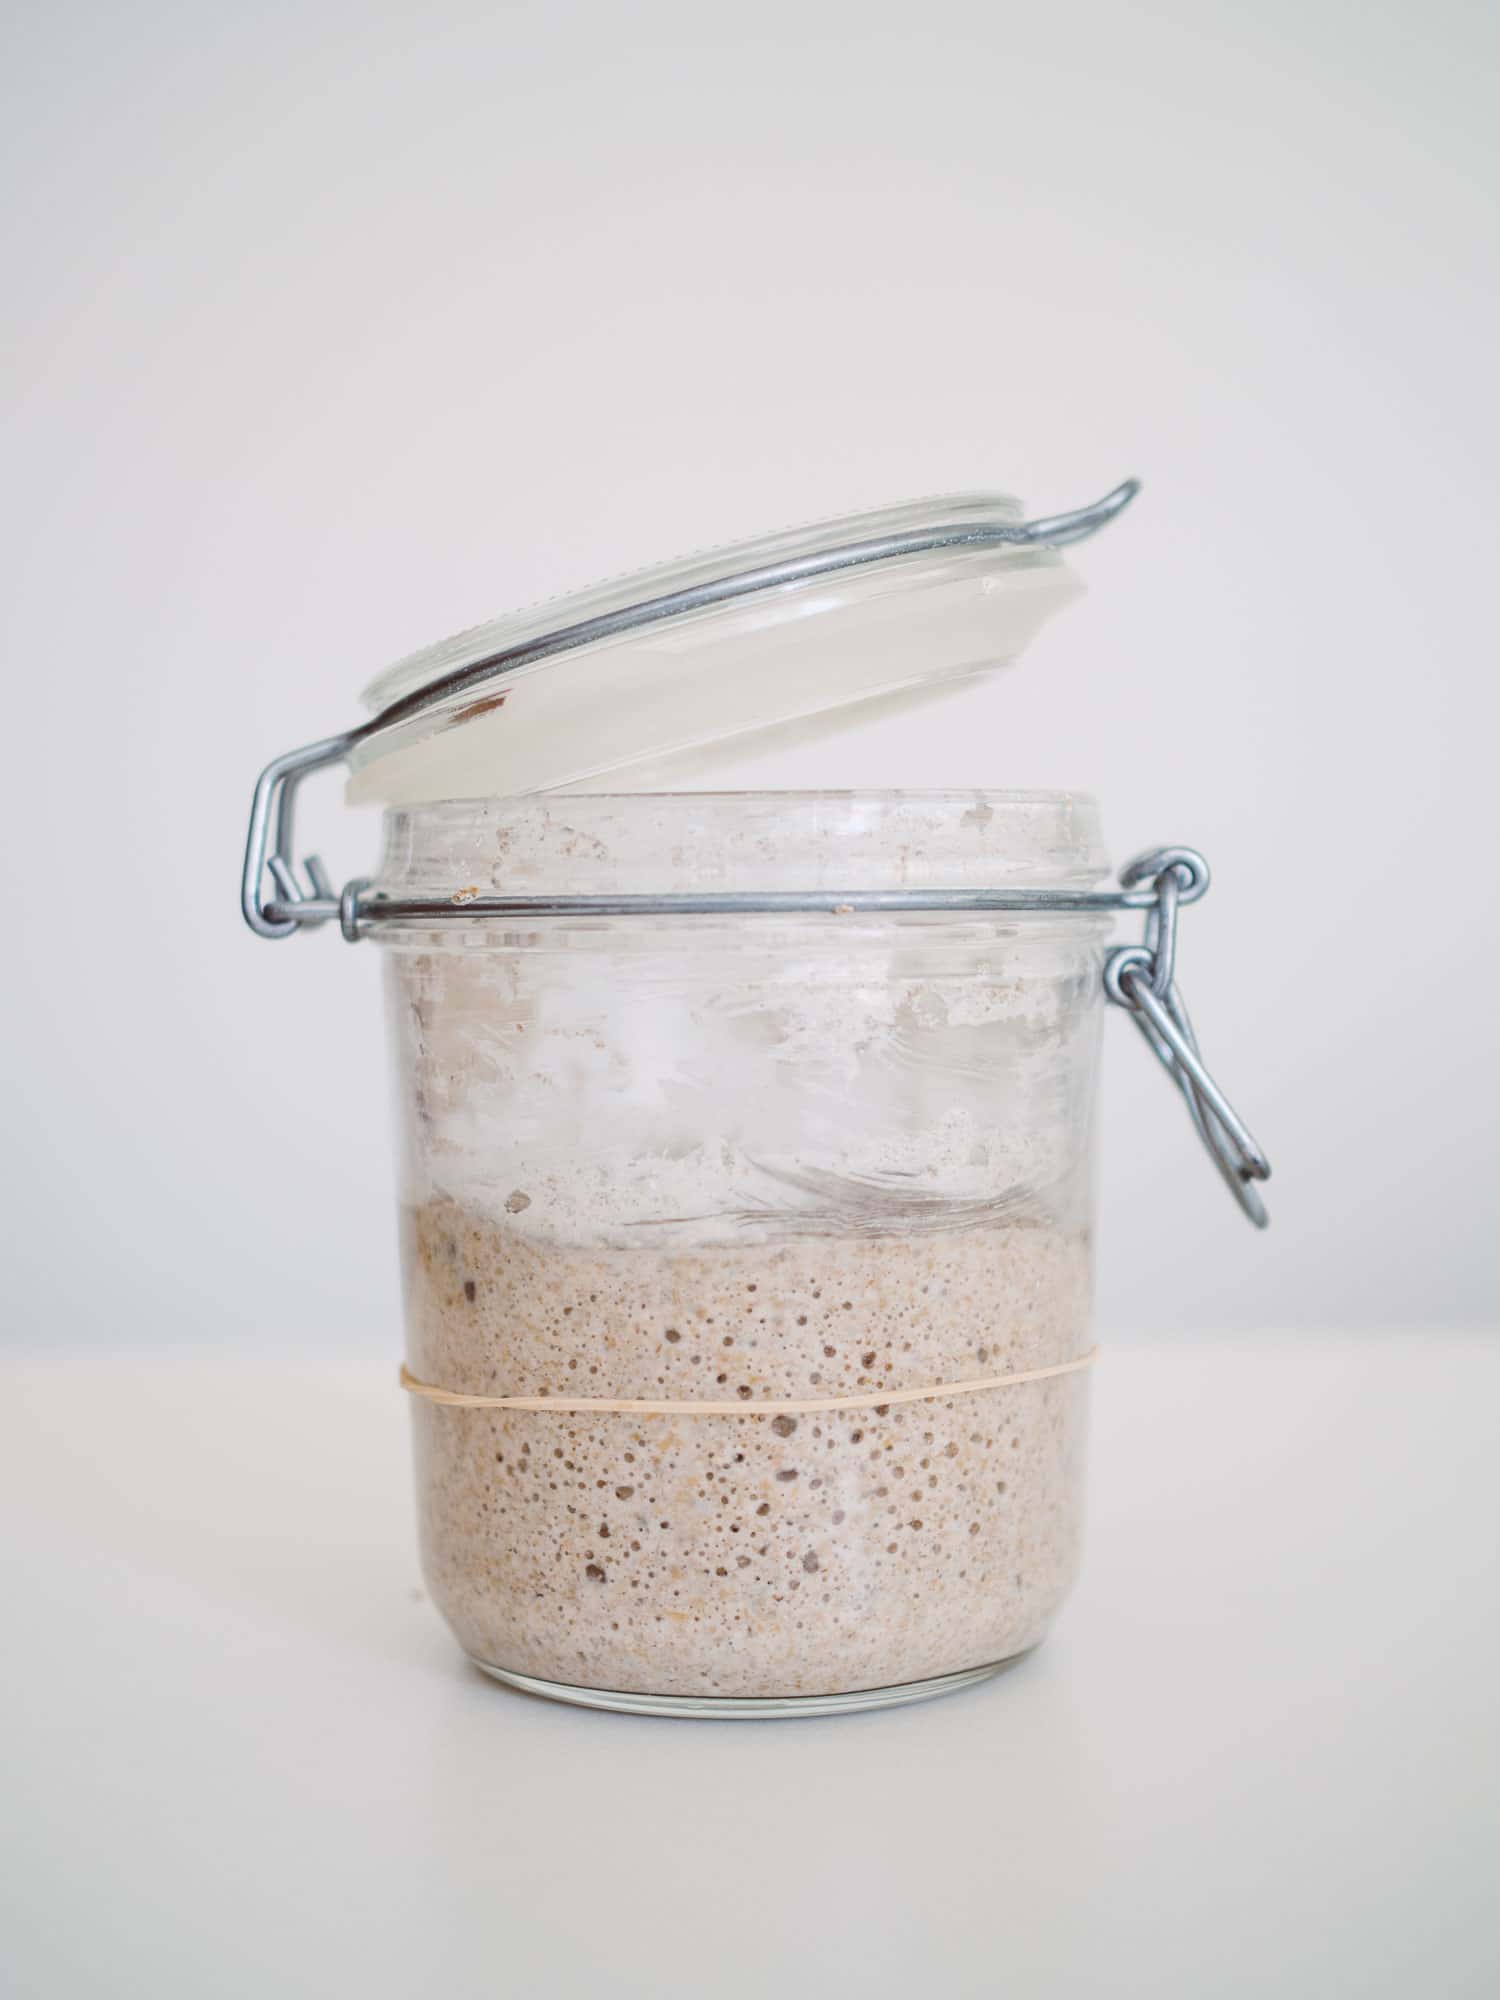
If your sourdough is on the kitchen counter and you feed it daily, you can use it to make a young sourdough that you can bake with right away. If, on the other hand, it is in the refrigerator, you must first bring it to life. This is done by taking it out of the refrigerator 1-2 days before you want to use it.Make a feeding as I have described in the recipe with 50g sourdough, 50g flour and 50g water, and put a rubber band around the glass so you can keep an eye on how quickly it rises. If it rises by 50% before 6 hours have passed, it is ready for you to use in a recipe. If it takes longer to rise, it means that your sourdough is not nearly as active because it is resting after being refrigerated. Therefore, make a feeding when it has risen and has reached its "peak", and again keep an eye on whether it starts to rise faster.
How to use up excess sourdough
Every time you feed your sourdough, you will have an excess left over. If you always continued feeding the same portion without taking anything away, you would end up with absurd amounts. You can discard the sourdough you take away. But if you want to avoid food waste, you can store leftover sourdough in a bucket in the refrigerator or freezer. The excess sourdough cannot be used to leaven bread. It must be fed regularly as described above before it is active and ready for baking. However, you can easily use your leftover sourdough in bread and baked goods, where you add yeast to give it leavening power. Here, the sourdough will contribute to a good taste and make the baked goods more juicy and increase their shelf life. For example, add one or two tablespoons of leftover sourdough to carrot break, sausage horn or Italian foccacia bread. It can also be recommended for these good rye waffles or for sweet recipes such as delicious cardamom spinners. You can use the leftover sourdough in this basic recipe for crispbread, and thus get the most delicious sourdough crispbreads. You can also use leftover sourdough to make delicious and easy food pancakes with sourdough. Here you mix leftovers with eggs and salt, and it makes the most delicious, juicy and slightly crispy pancakes with the taste of sourdough bread. 
How to time the use of sourdough in a day
It can seem complicated to plan when to feed and leaven the dough to rise if you want freshly baked bread at a specific time. Here are a few examples of how to time the use of sourdough in your everyday life:
If you want to bake buns on Saturday morning:
On Friday morning around 7:00 AM, you take your sourdough out of the fridge and feed it to bring it to life. The first time it can take 8 hours for it to rise 50%. After work, around 3:00 PM, you feed your sourdough again in a 1:1:1 ratio, so you get the amount you need for baking + a little extra for the fridge. Now the sourdough is active, so it will rise to 50% in 4-5 hours. At the same time, you stir flour and water together to make an autolyse. The sourdough and autolyse are kneaded together in a mixer in the evening around 7-8 PM. The dough rises at room temperature until you go to bed. Here it goes in the fridge, and then you can bake buns the next morning.
If you want to bake rye bread for Sunday lunch:
On Friday evening, you take the sourdough out of the fridge and feed it to bring it to life. On Saturday morning, you make a young sourdough, which you use in the rye bread about 4 hours later. The bread rises for 24 hours, and is baked for lunch on Sunday. 
First aid for when your sourdough is messing up
If your sourdough just doesn't want to work the way you want it to, you can try paying attention to the following:
- Make sure the water is not too hot or cold. It should be room temperature/finger-warm.
- Make sure the glass is neither too hot nor too warm. It thrives best at somewhere between 20-25 degrees, and should not be in direct sunlight.
- If liquid appears at the bottom or top, stir it a few times a day.
- If it smells rotten, it should be discarded.
- If there is mold on it, it should be discarded.